Amazon Redshift
Deprecated: The current method of Connecting is scheduled to be replaced by using-Upload Method
The following steps enable users to connect Single Origin to Amazon Redshift. To set up a connection, you will need to use Password authentication with Redshift.
Setup
Single Origin Connector
An admin will need to set up a Redshift user for Single Origin & connect using that user.
- Log in to your Redshift Console.
- Navigate to "Amazon Redshift > Clusters > <your-cluster-name> > Network and security settings." First, edit the VPC Security Group to allow Single Origin's IPs to access the Redshift service. Then, turn on Public IP Addressing by choosing "Enable" on an Elastic IP address. Save your changes.
- Create a user with Password authentication type by running
CREATE USER single-origin-user PASSWORD <desired-password>;. - Grant the user privileges.
- Now return to the Single Origin app and log in to your account. Navigate to
Settings > Single Origin Connectors > Create Connector Settings. - Add a name for your Single Origin Connector.
- Select Redshift as the datastore.
- Enter the username and password you created in Step 3.
- Using the JDBC URL from your Redshift cluster details, fill in the server address.
- Using the Database configurations from your Redshift cluster, enter the Port.
- Using the Database configurations from your Redshift cluster, enter the Database name.
- Click Create. Your Redshift cluster is now connected.
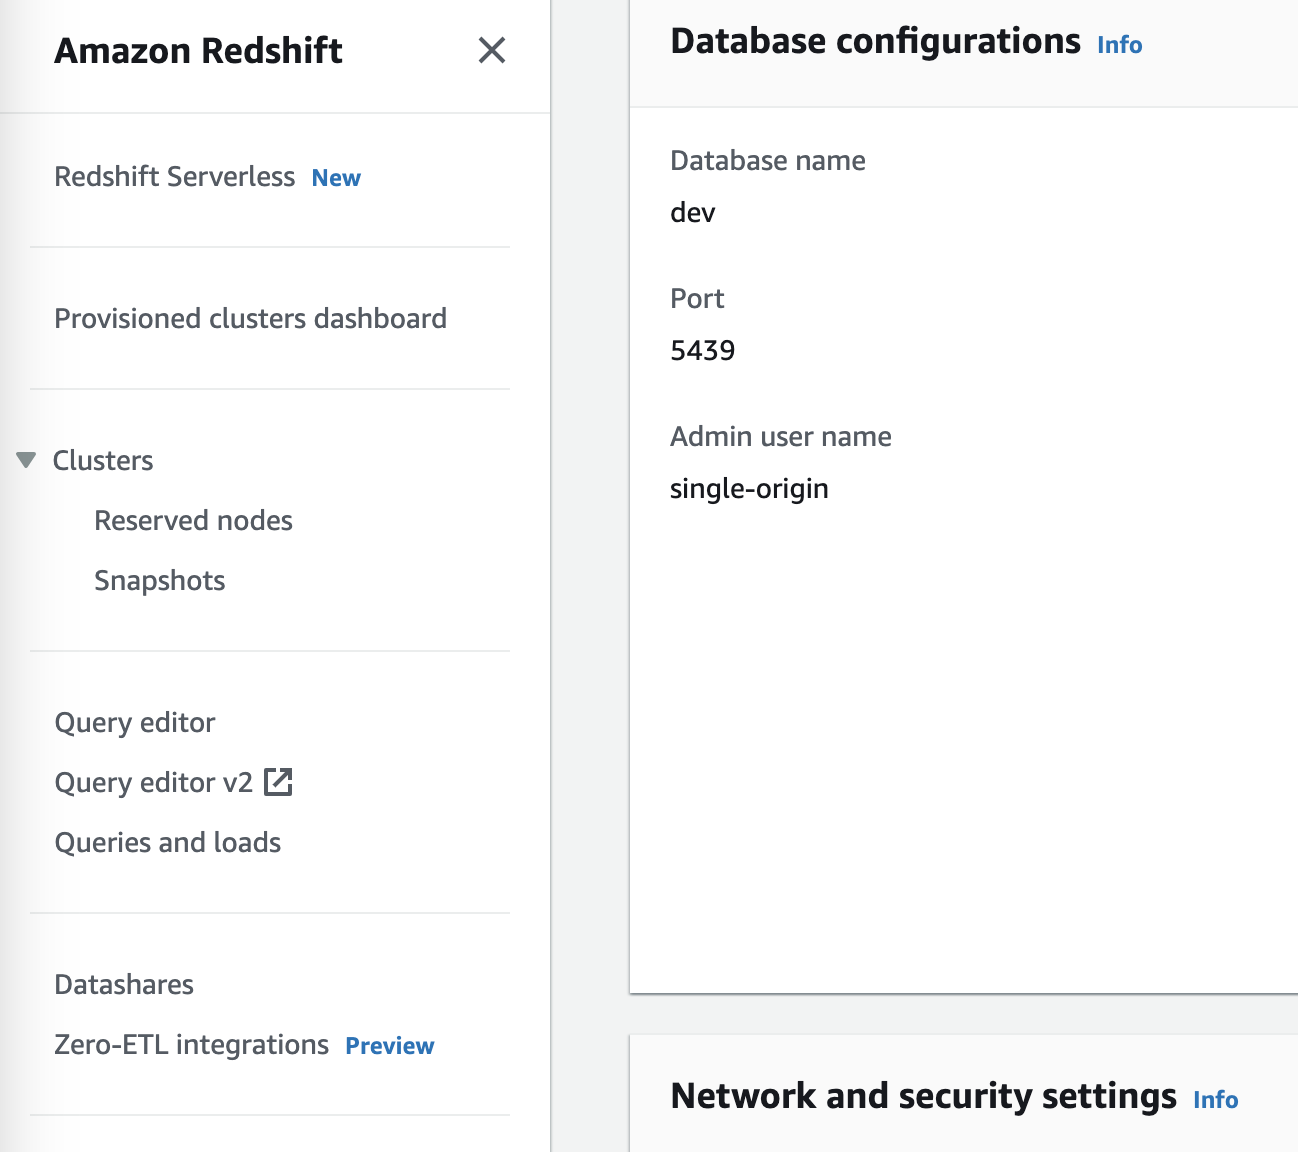
Redshift Database configurations
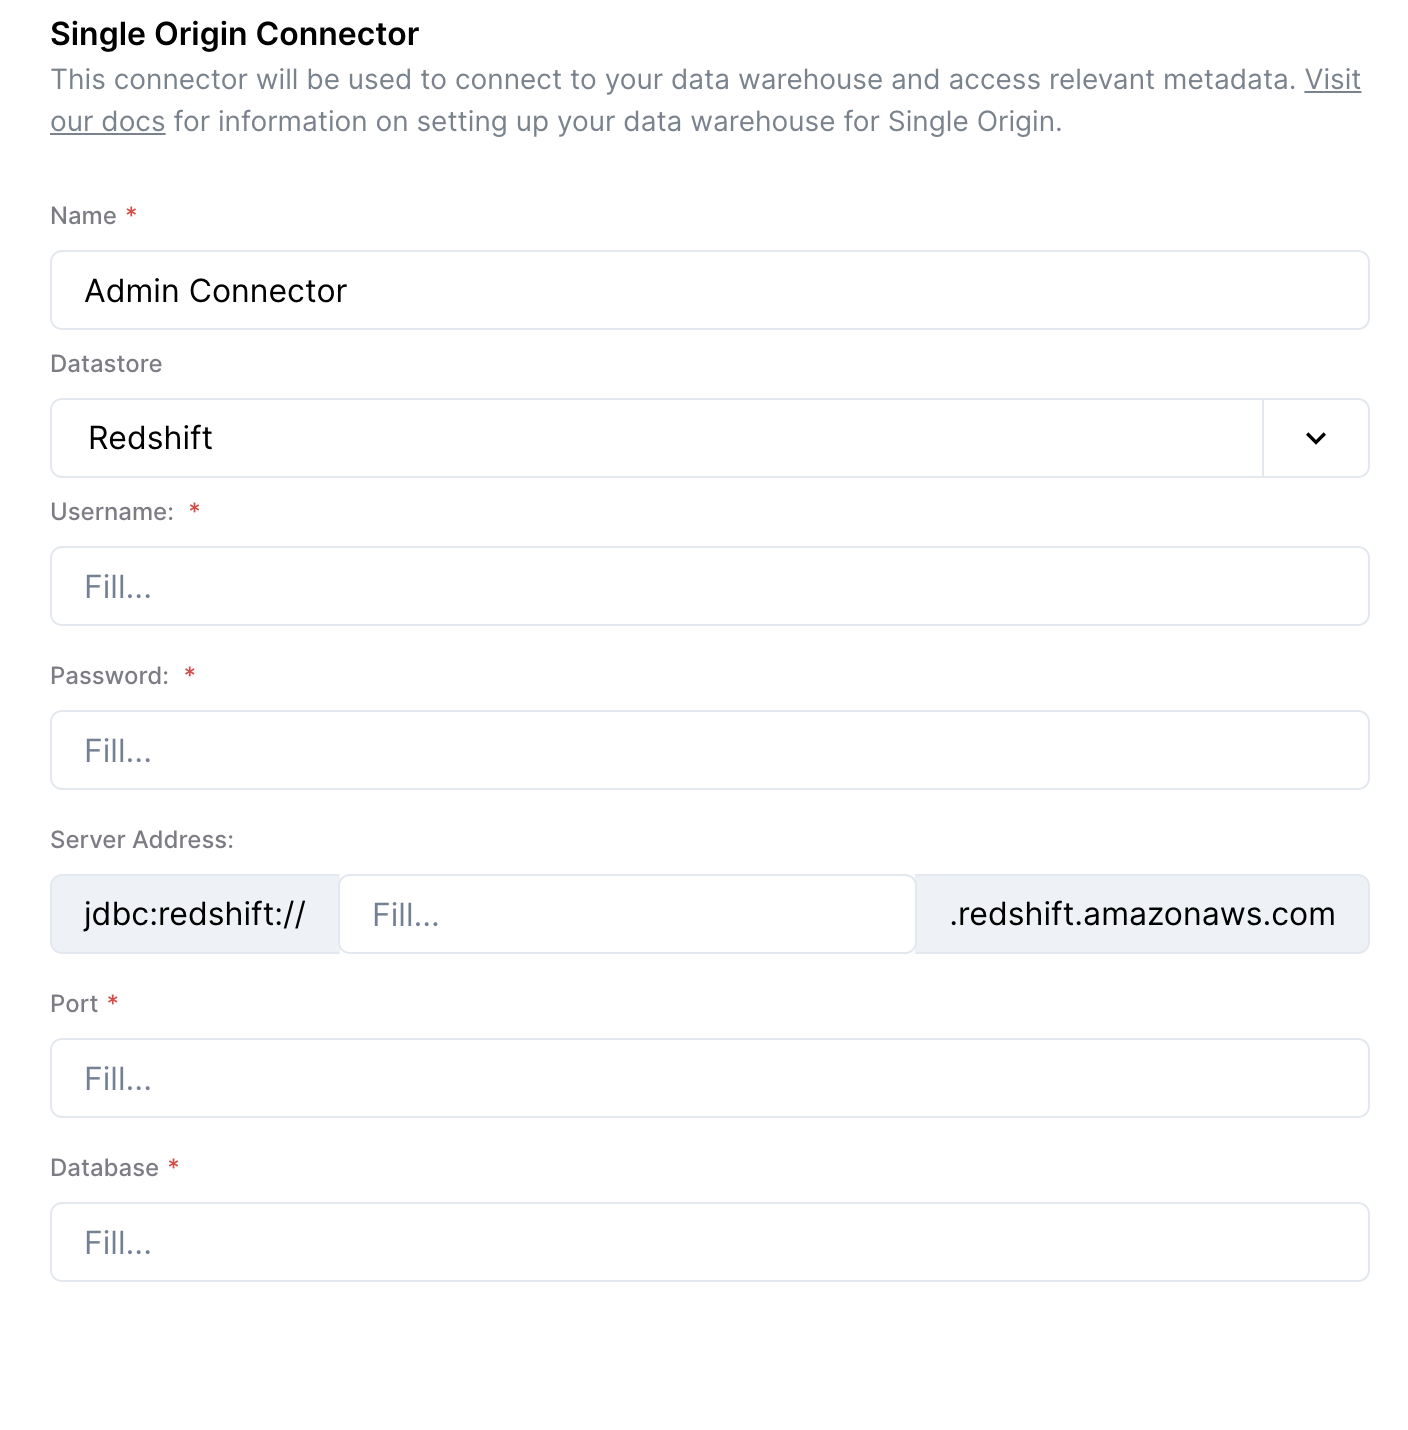
Redshift Setup Form in Single Origin
Personal Connector
Each user on your Single Origin instance can setup a personal connector using their username and password, along with the following settings from the Single Origin Connector:
- Server Address
- Port
- Database
FAQ
- What data does the Single Origin connector need to have access to?
- We use the following three tables, which are visible to all users: SYS_QUERY_HISTORY, SYS_QUERY_TEXT, SVV_ALL_TABLES
Updated 11 months ago